Describe an idea in one line, and Claude draws a machine that shows how it works.
Most diagrams that explain how something works are boxes joined by arrows. They tell you the parts exist, but not what the parts do, so the reader has to imagine all the motion the arrows stand for. Anatomy takes a different route: it has Claude draw an actual object whose moving parts behave the way the idea does.
Claude comes up with a machine that embodies your idea and renders it as a live isometric illustration, a view angled so you see several sides of the object at once. You can move its parts, click on it and read the live numbers it shows. Each illustration is built from dozens to hundreds of small solid parts, and every number on screen comes from the same small model that drives the motion.
What it looks like
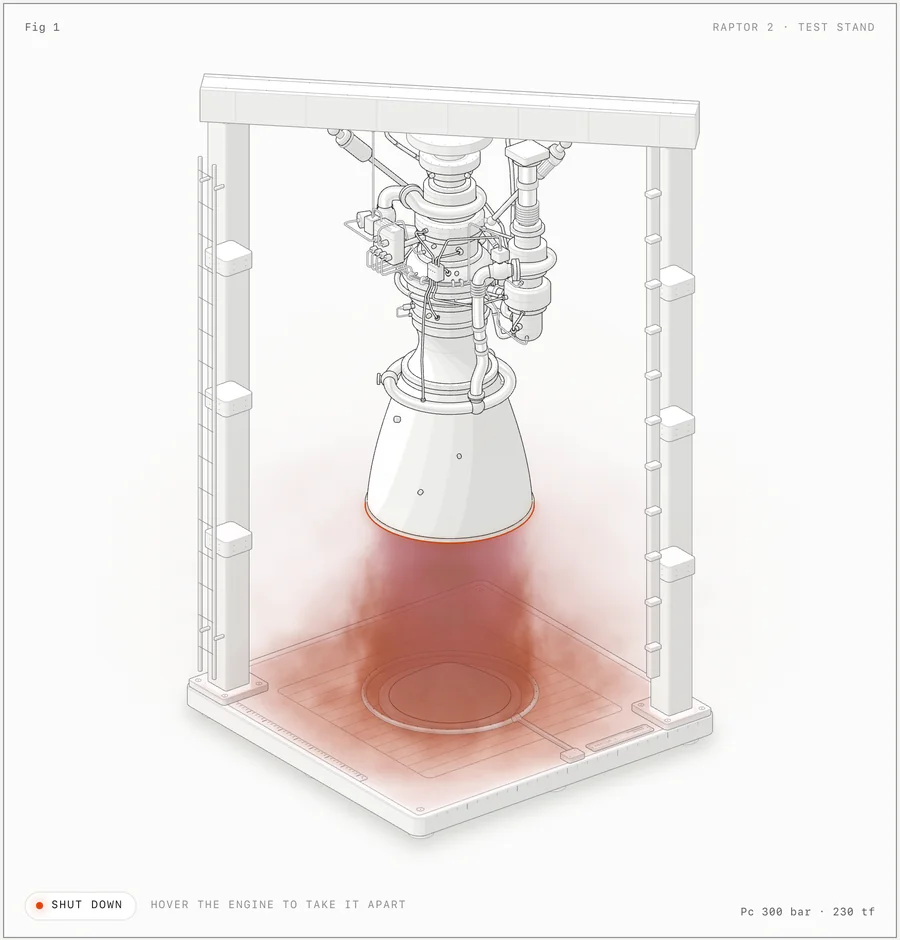
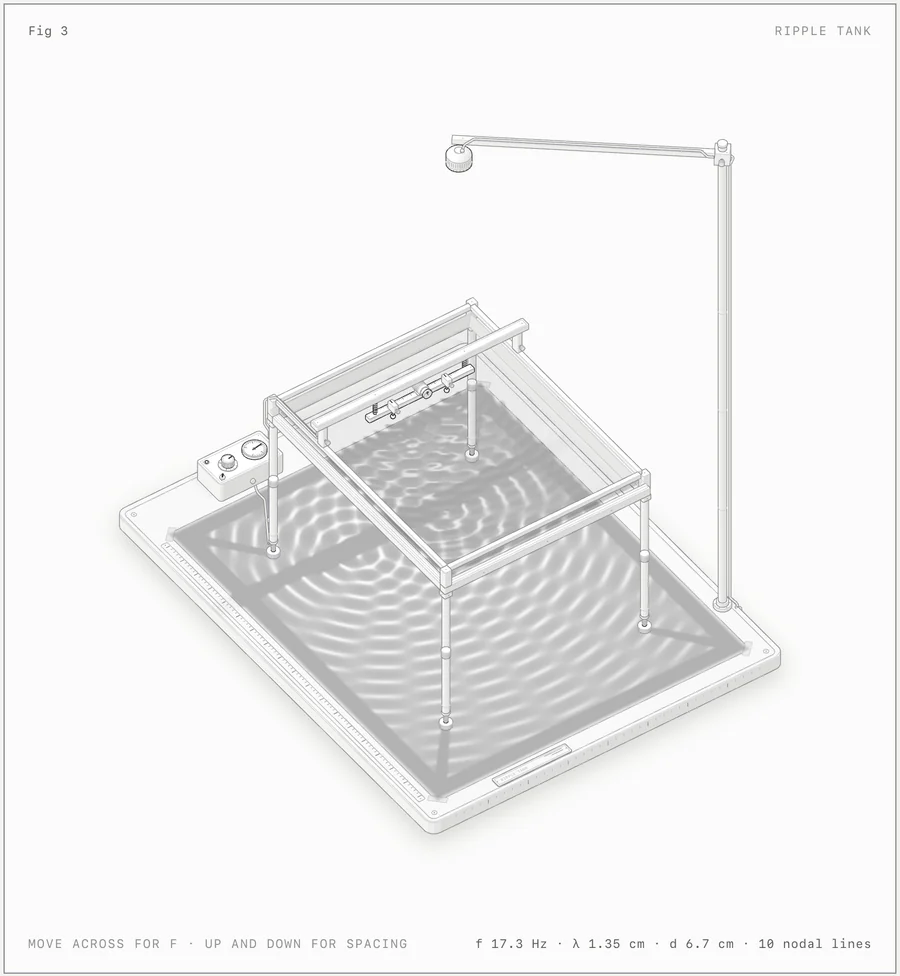
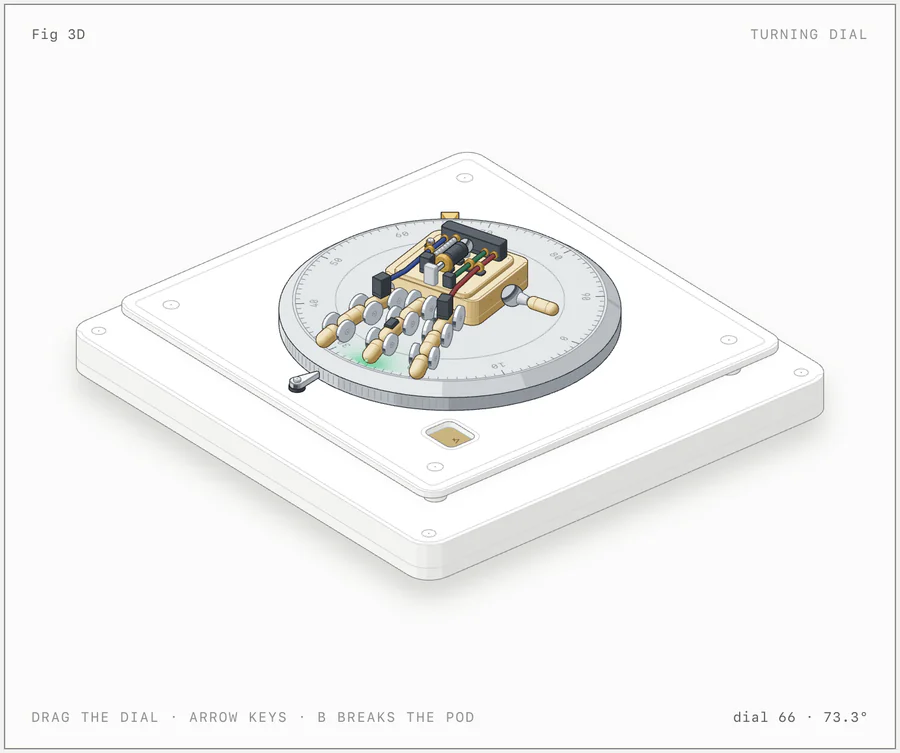
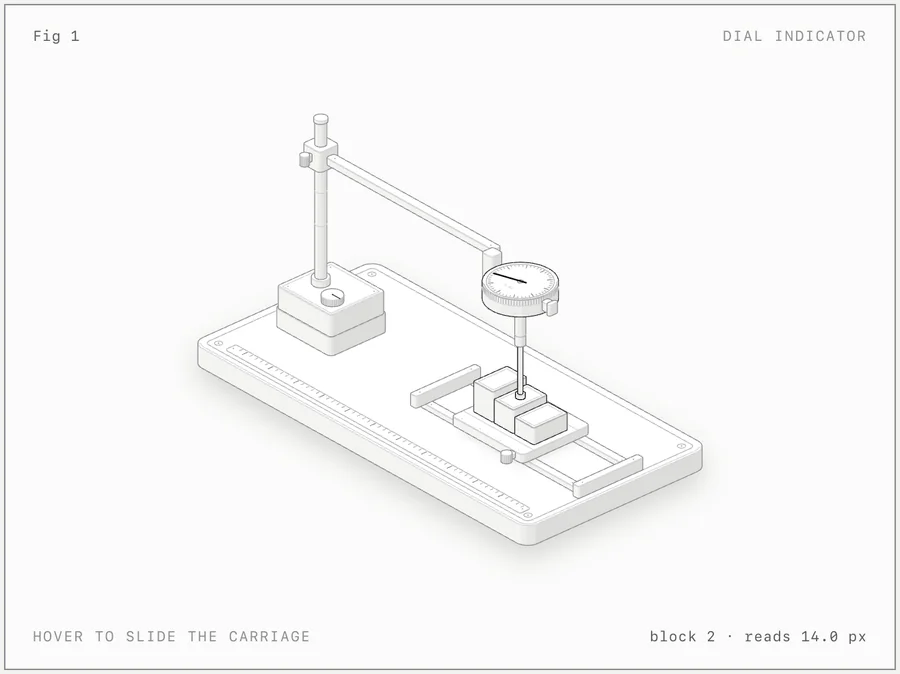
Example: a Swiss automatic watch movement
This is the level of detail the skill works at, described part by part:
A standard Swiss automatic movement, about 25.6 millimetres across, held movement side up in a two-jaw holder on a watchmaker’s bench next to a millimetre ruler.
With the barrel bridge partly cut away, you can see the mainspring coiled around its arbor. The ratchet wheel, crown wheel and click sit on top, and the crown and winding stem come out on the right.
Under the striped train bridge, the centre, third and fourth wheels drive the escape wheel. Its fifteen club-shaped teeth are caught in turn by the two ruby pallets on the lever.
The impulse jewel on the balance wheel pushes the lever from side to side. The balance, with its regulating screws and hairspring, swings about 290 degrees each way, completing four full back-and-forth cycles a second. Every swing lets the escape wheel move on by half a tooth, so the gear train advances in steps of one eighth of a second.
Install the skill
Open Claude Code, copy this request and send it. Claude will install the full skill. It needs Node.js 20.10 or newer and the Chrome browser on your computer. If Claude does not pick it up after installing, start a new conversation.
Install this skill for me: https://github.com/wheresryan22/anatomy
How to write the prompt
Your prompt is the idea, not a description of the drawing. You rarely need to say what to draw. Writing "explain how an LRU cache evicts items" is enough (an LRU cache is temporary memory that clears out whatever has gone unused the longest). Deciding how to show it, say as a bookshelf, is part of the job you are giving Claude.
Three keywords change the result, and Claude only uses them when you write them in your request:
| Keyword | What it adds |
|---|---|
| interactive | The illustration responds to the mouse and keyboard: dragging, clicking or holding a key. Leave it out and you get a still drawing. |
| WebGL | Shader effects such as fire, water, plasma, moving air and light, shown from the same isometric camera as everything else. |
| 3D | Parts that genuinely rotate in space, with their projection and drawing order recalculated every frame, rather than only looking isometric. It is slow, hours of building rather than minutes, and 3D mode is still in beta. |
If you already know which object you want, name it along with the exact figures that matter. And if the illustration is meant for a particular place, say so too.
Example prompts
Describe the idea
/anatomy explain how an LRU cache evicts items, interactive
Add graphic effects
/anatomy explain how a jet engine afterburner works, interactive, WebGL
Let it rotate in 3D
/anatomy explain why Earth has seasons, interactive, 3D
Or name the object itself
/anatomy a small mechanical metronome on a wooden base, ticking at 120 beats per minute, with a sliding weight you can drag, interactive
Say where it will appear
/anatomy explain how a CDN edge cache handles a request, interactive, as React components for our Next.js docs site, dark theme
You do not always need to start with the command. The skill is set up to cover requests for explainer diagrams, technical illustrations or interactive visuals, even when the word "isometric" never comes up, so Claude may reach for it on its own.
Until a request matches, Claude only sees the skill’s name and short description. It reads the rest of the instructions only when they are needed.
What Claude does
From your request to the finished illustration, Claude follows a fixed order. Much of the quality is decided in the first four steps, before any shape is drawn.
- Sizes the job. Says up front whether it is a standard Figure, a larger Hero or a large-scale Epic, and estimates how long it will take.
- Starts from real data and behaviour. Collects the numbers and rules and writes them as a small model that feeds both the motion and the live readout.
- Invents the object. Designs a machine where every working part maps directly onto a part of the idea being explained.
- Lists the parts. At least forty parts, grouped into base, structure, mechanism, controls and the main subject, the one part picked out in light. Every part rests on another.
- Plans the space. Sets units, builds outlines from rounded rectangles and circles, places a camera and fits the illustration to its display card.
- Builds the geometry once. All static paths are worked out in advance. Moving parts are built at rest and then set in motion.
- Draws from back to front. Sorts parts by depth. Parts that wrap around others are split in two, and when things get crowded it runs a check that the drawing order is right.
- Builds the frame. Creates a card with a title, a usage hint and a live readout. Text stays outside the drawing itself.
- Brings it to life. Adds calm, time-based motion, mouse and keyboard control and an automatic demo when nobody is touching it. If the device is set to reduce motion, the illustration stays still.
- Reviews it critically. Uses screenshots, contact sheets of thumbnails, close-ups at four times magnification and two automated checks, until there is nothing left to fix.
Here is the second step in practice: a test rig, one of the skill’s examples, shows how a glass button swells and tilts under a finger. All of its behaviour comes from one small spring model.
The parts, the readout, the screen-reader text and the caption all draw on that same model, so they can never contradict each other.
More examples and the full skill